I want to show you a fun project today. It is an explosion box using kraft paper, brown paper and cream paper with just a little bit of red. I really pushed myself on some of the techniques but I'm so pleased with the way it turned out. It just goes to show, trying something new can be very rewarding. The cuts were all done using my Cricut (it requires a 12 x 12 mat) and SCAL2. I used an SVG from SVGCuts. You can find the explosion box
here.
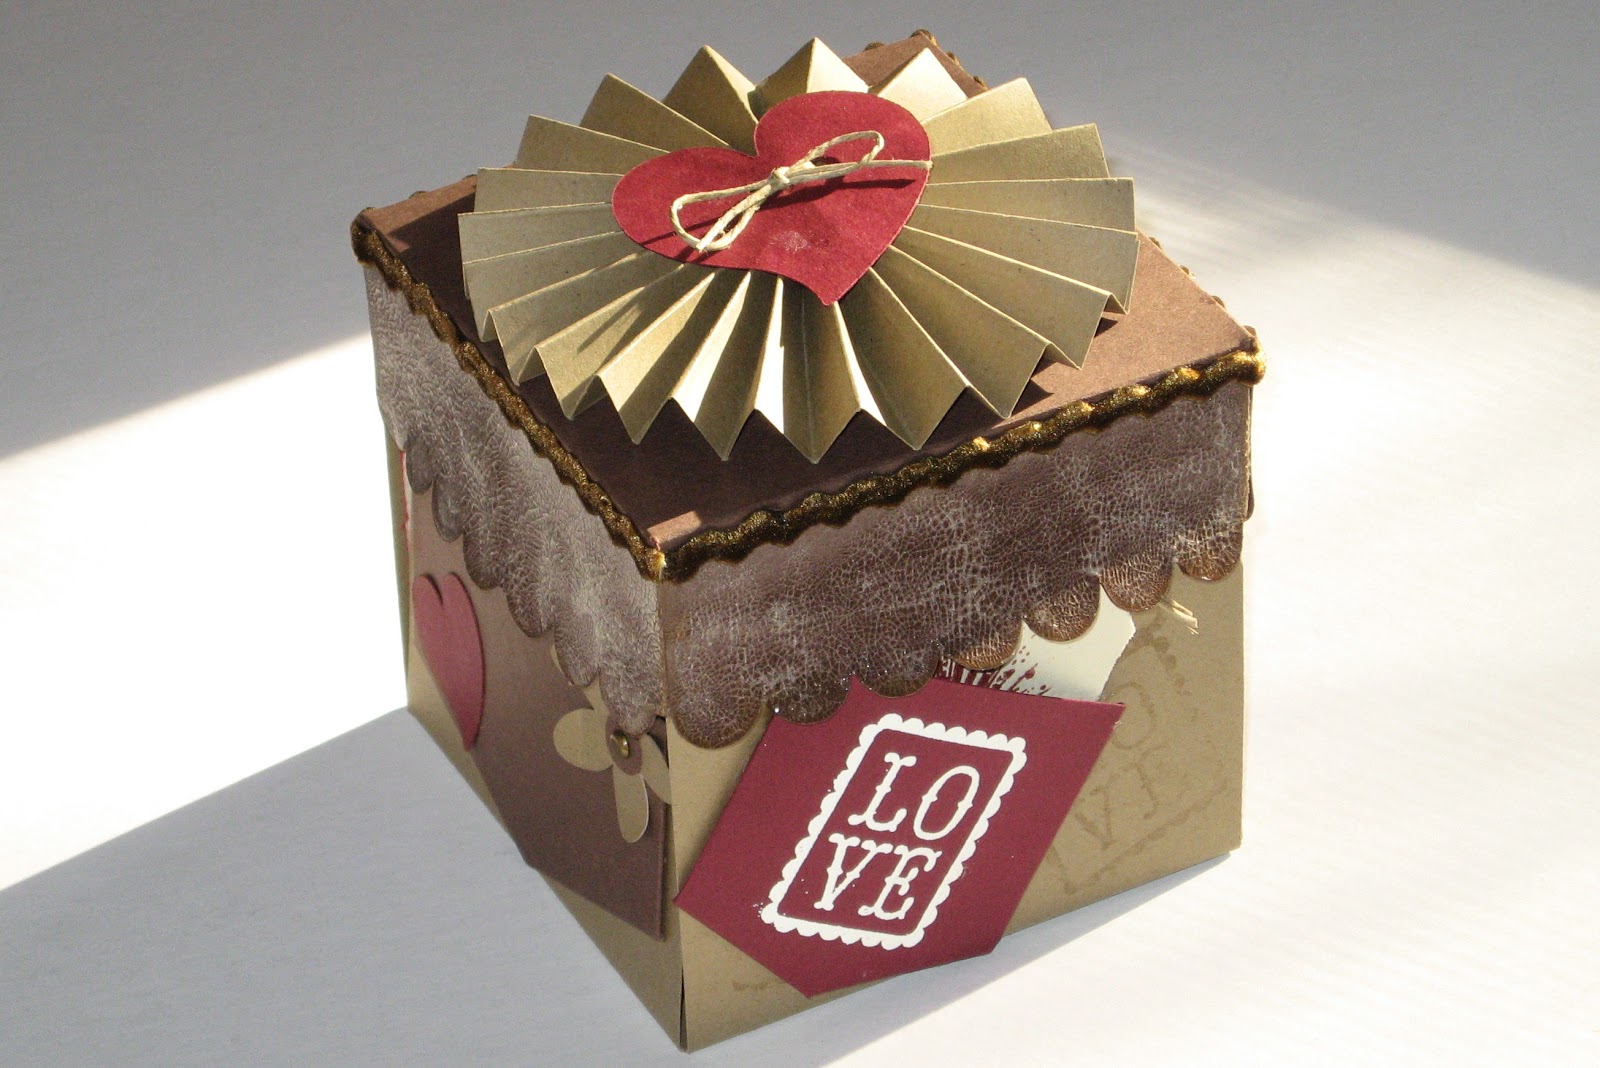
First the top. I have never made paper rosettes before. I love them, I've been eying them but I hadn't tried them. I must say, I think I'll be doing more. This rosette is two strips of kraft paper, each 2 inches wide. I then scored them every half inch, glued them together and pushed the middle down so it would fan out for the rosette. I then glued a one inch circle to the back of the rosette and the heart with the twine through it to the top of the rosette.
Here is a close-up of the top.
On the edge of the top, I glued a piece of velvet ric-rac from
Creative Charms. I love the way the velvet ric-rac looks with the kraft paper. It is elegant with out being inappropriate. I also used Crackle paint along the sides of the top. I used Rock Candy so it would have texture without adding color.
I think this side is my favorite. You can see the velvet ric-rac again. I heat embossed the LOVE stamp on the pocket. I also heat embossed a great Tim Holtz stamp to the tag.
Isn't that fun. The final thing on this side, I used Versamark to give the kraft paper a little bit of texture. I stamped the LOVE stamp under the pocket and through out the side.
This is another side. The flower is part of the cuts from SVGCuts. The brad in the middle is one of the very fun ones from
Creative Charms.
Here is the explosion box opened up. Doesn't it look fun. All of the pictures were taken at one sitting this last Thanksgiving.
You can see more of the velvet ric-rac and the brads in the middle say "We Love You". They are from the Spare Parts by the Paper Studio. It is the Hobby Lobby line of products.
Here you can see more of the mats. I put pictures on the back of each side, in addition to the front. I never print pictures at wallet size (and normally don't know that to do with wallet sized pictures when I get them) but this was the perfect size. On the inner pages I really couldn't frame or mat them but the second and third level was perfect for matting.
One last shot of the pages.
I think there will be more explosion boxes in my future. They are sooo much fun. Thank you for looking and let me know what you think.