Today we are going to take a look at the math themed computer lab at Northwestern Middle School. While the language arts lab couldn't have been done without Cricut cartridges, they left me high and dry when it came to math images. I found these images as a PNG in the public domain (Wiki Commons). I downloaded them to my computer and then traced them in SCAL. I broke them apart so I could have one image on each page. After copying them to their own page I made certain I had the proportions box clicked and then enlarged them to fit on a 12 x 24 mat. Using the style button in the drop down menu for appearances I created a rounded shadow for each of the images. All of the base images are cut in black and then the actual symbols were cut in different colors.
The picture above shows the infinity and pi symbols.
Here is summation, the computer mouse, Grace the mouse and some of the computer terms. I had to seperate the summation and pi because they were both done in orange with black backgrounds. My Dad was in a fraternity (Sigma Pi) and their colors were orange and black. All I could think about when I was doing these was Ohio Norhtern's Sigma Pi chapter.


This is a close-up of the calculator I created. I looked everywhere for a realistic looking calculator, especially a graphing calculator. I wanted to put an arrow with peaks in it but I never got that far. I used a system similar to the books in the language arts lab. I cut the outside of the calculator, the screen and the bar below the top four buttons. Then I switched the blade with a black mini sharpie. The sharpie had a pen/pencil grip (you can find a dozen or so at almost any office supply store) on it so it would stay firm in the Cricut Expression. I spent a lot of time making all of the squares for the keys and the numbers and symbols. In the end, I'm very pleased with the way this turned out. If you would like a SCUT file of the calculator, I'm happy to share. Just send me an email.

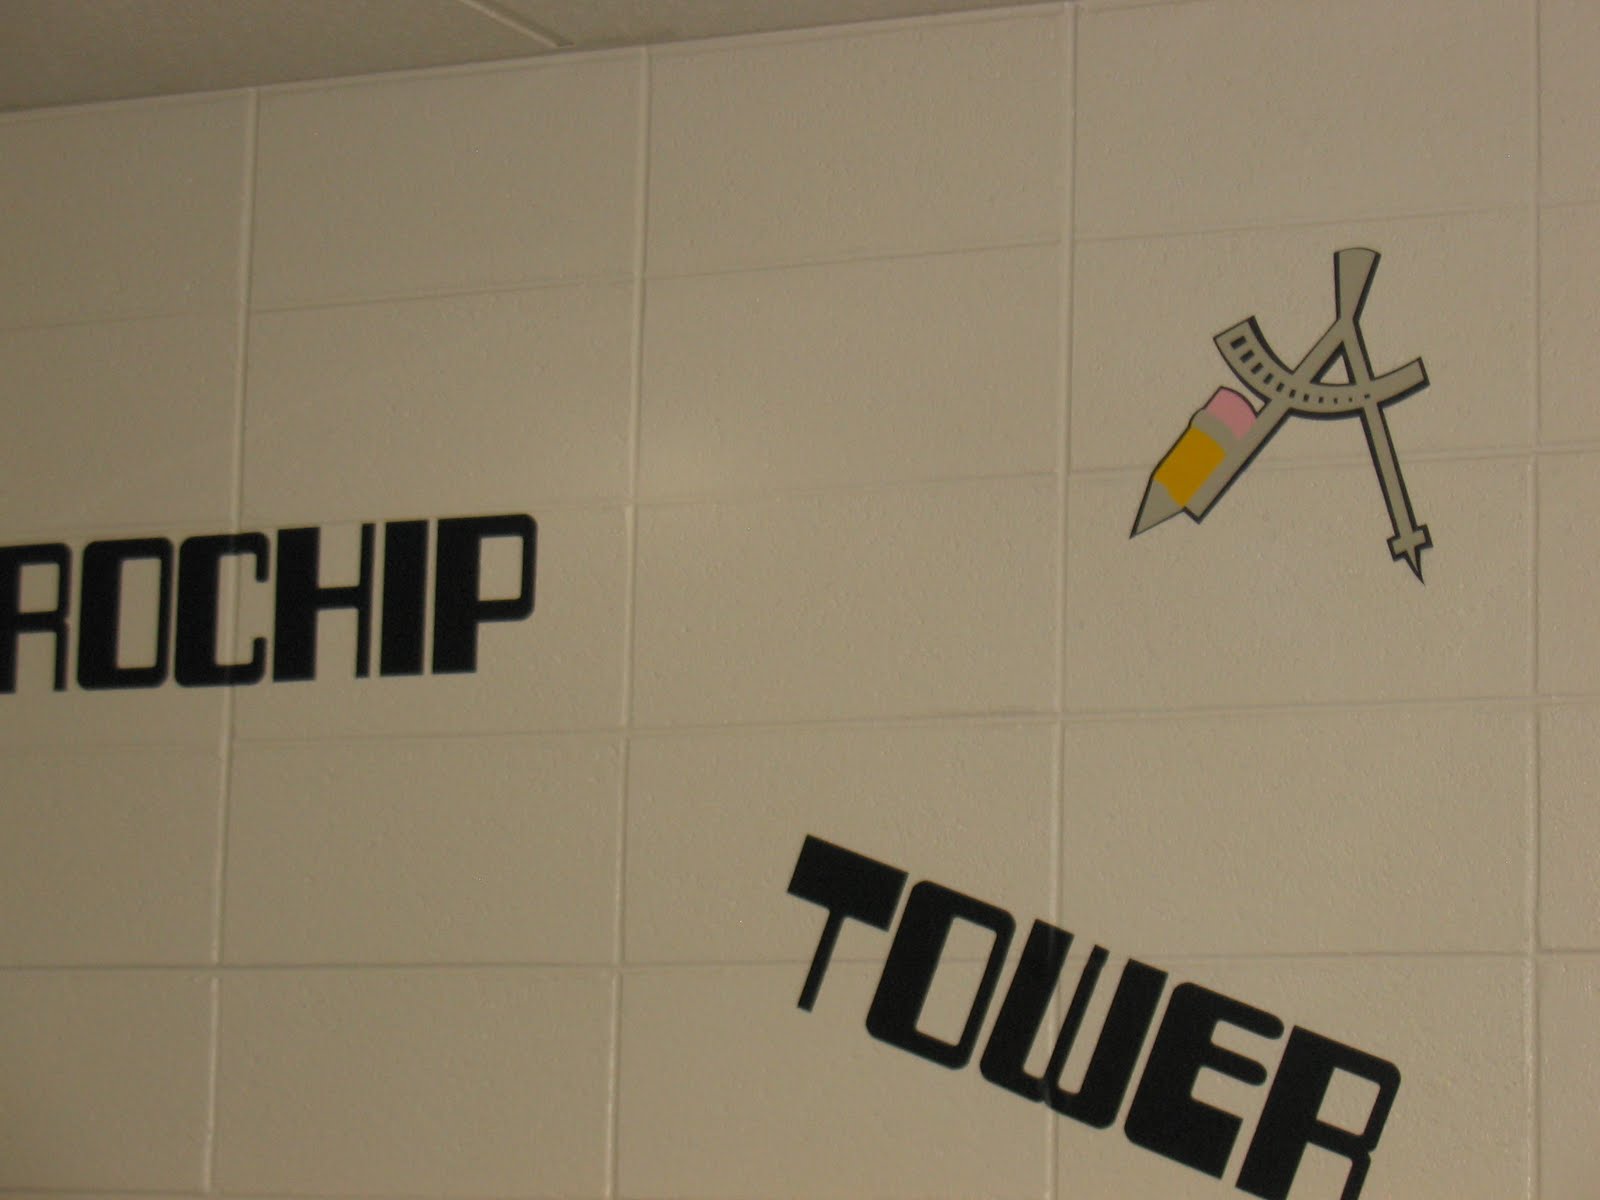
I love this compass. It is cut from the Locker Talk cartridge. I used black as the base, light gray for the metal parts of the compass, yellow for the pencil and pink for the eraser. Isn't this just so much fun?
I used contact paper for transfer tape. I cut contact paper (the type of you buy in the grocery store, KMart, Target, etc. to line your shelves. I like the clear contact paper so I can see exactly what I'm doing.) I rubbed them on tables a few times so they weren't "too" sticky. Then I would put the sticky side of the contact paper on the unsticky side of the vinyl (it was already weeded at that point). I found that if you made certain the corners were well stuck you could then pull the letters away from the backing of the vinyl. I would line the vinyl with the contact paper up in the correct place on the wall and rubbed it onto the walls. I would then carefully pull the contact paper away from the vinyl. It takes a good bit of work to burnish the letters down on cinder blocks. I would run my fingers along the edges of all the letters until they were firm. I also would pull the letters back up and push them into the cracks between the blocks. In the picture above, look at the T, O and W. Each of these were arranged in the crease so they would be firm against the wall. Most, but not all of the graphics were done without using transfer tape. This room required more transfer tape than the language arts lab. The math symbols had enough edges and the compass was especially difficult. Anytime a graphic had lots of edges I used transfer tape to give it a bit more substance and make certain it wouldn't stick to itself when I was putting it on the walls.


1 comment:
Wow - that was a lot of work! It looks amazing!
Post a Comment